I used the SU! top note die and my Big Kick (1st time using the Big Kick). I must admit after sandwiching and cranking that thing 249 times I was tired of that task and was eager to start on a different component of the card.

I cut the top note shape out of 12x12 chipboard first then painted all around the edges with white acrylic paint as I didn't like how the carboardy brown of the chipboard was visible along the edge. Then I cut the front panel from different black and white patterened DCWV paper. Our company colors are black and grey so I needed to stay in that color scheme. I am officially out of black and white pp after this task. Boy, how I wish we had more vibrant colors in our logo but there's something to be said for the elegance of black and white especially when some glitter is mixed in. The pictures don't do them justice but they look really pretty in person.
I had a stack of DCWV Dazzle glittered paper that I've been saving for quite a while now. That thin stack was just too pretty to use. It's utterly fabulous because you can stamp on the glittered paper and that's just what I did. I initially stamped the thank you image on the glittered paper and then used my SU! punch to punch it out but I quickly realized if I wanted to get the maximum amount of punched pieces out of those 2 sheets which is all I had, I needed to punch them out and then stamp the image.
Now, here's where my SU! demonstrator, Melissa, will be proud of me. Heck, I'm proud of me! LOL I'm not that much of a stamper so this was huge for me. I stamped the thank you image onto vellum cardstock first, then used my stampamajig tool to carefully position and stamp the image onto the punched pieces. It was a bit of a time consuming task but by doing it that way, I was able to have enough pieces for the 83 cards.
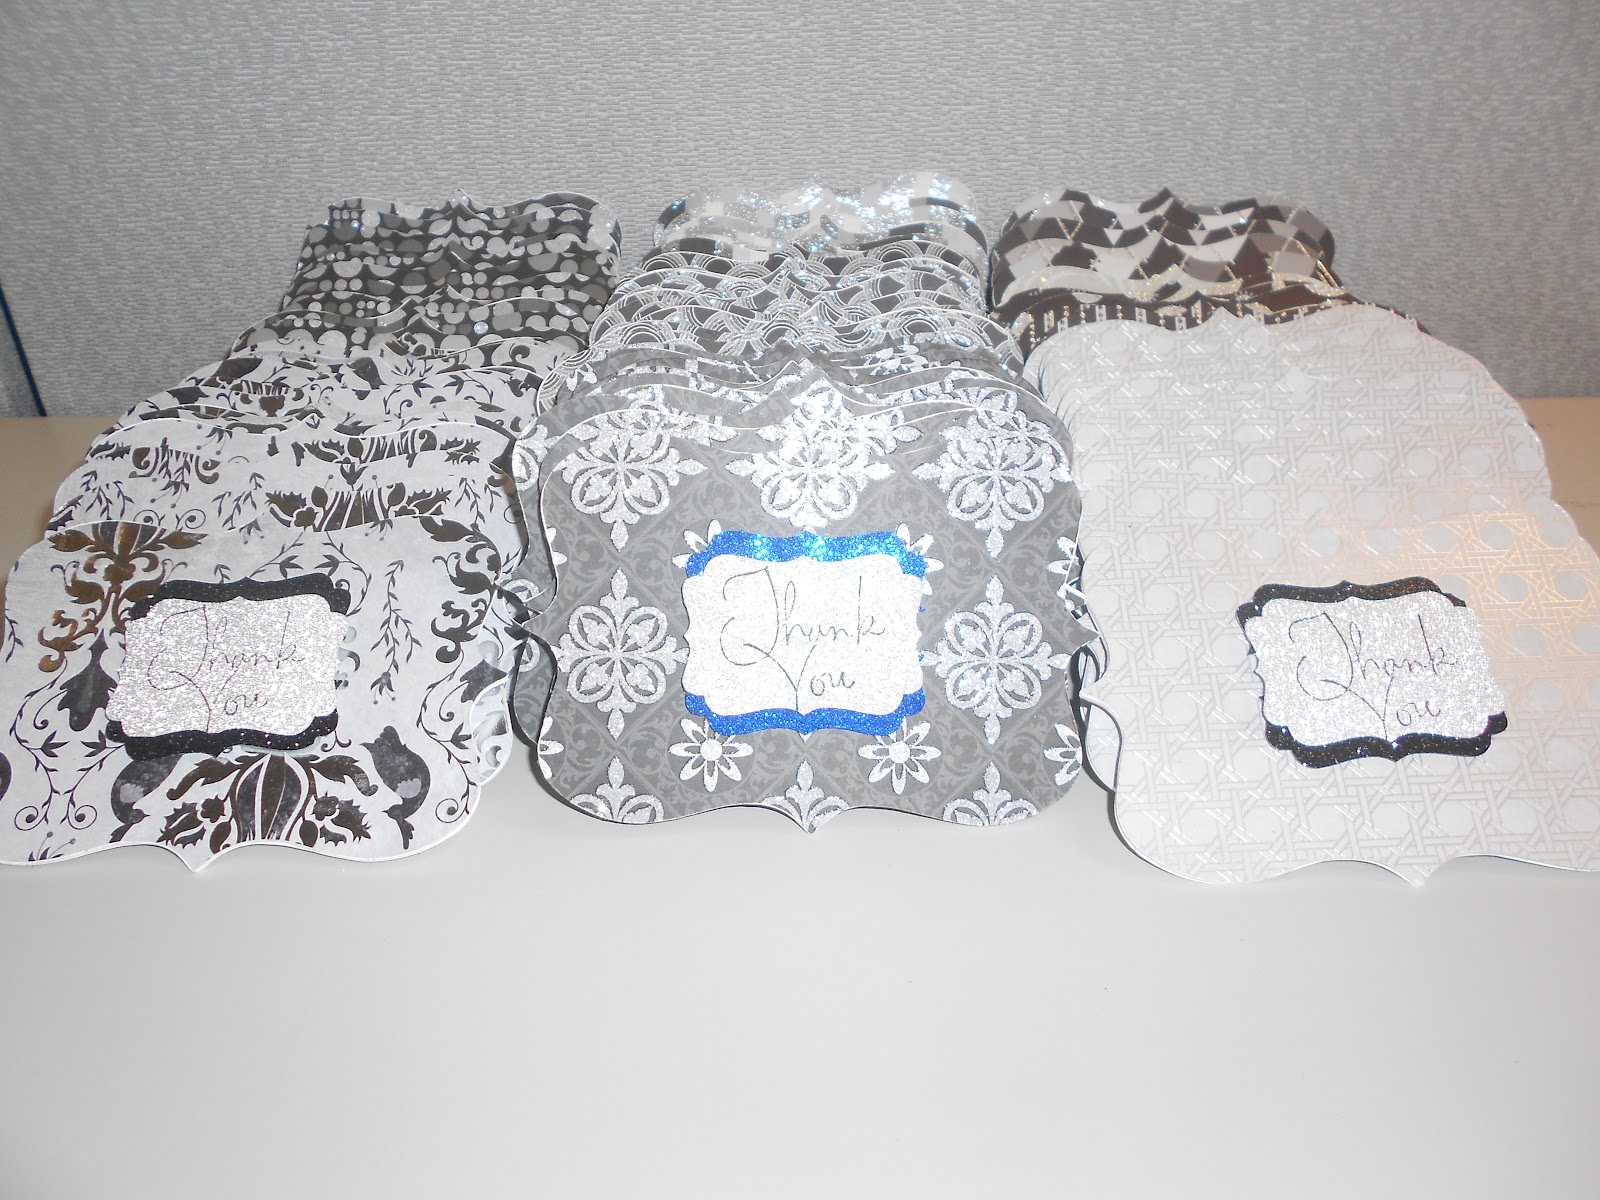
I also punched the same shape out of blue and black glittered paper but then split them down the middle to create a frame for the thank you piece. All three pieces are pop-dotted to add dimension. I got away with using the blue glittered paper because my company ribbon is royal blue and it's a good thing too because I ran out of the black glittered paper.
I then die cut 83 back panels out of SU! whisper white cardstock onto which I hand wrote the sentiment. I initially was using my ATG to apply the front panels to the chipboard piece but it made the edges sticky with tape overlap so I switched to tombow liquid glue which avoided the sticky edges from tape overlap but not the sticky fingers I soon had. Nothing some wet wipes couldn't handle, though.
Sorry for the overexposed picture here. I took this pic in my office before boxing them up and shipping them out to the event. Lighting is not the best in my office as we have no windows.
Also don't know why this came out so blurry.


So that's my latest project.
Have a great weekend!!!
3 comments:
Wow, wow, wow! Those are gorgeous and very original. The hand-written sentiments are a nice touch for a big company and the ribbon through the envelope is brilliant!
They are beautiful! TFS and have a wonderful weekend!
That was certainly a lot of effort, yet it turned out beautiful cards. Hope the company appreciates you!
Post a Comment